Since I think they are really pretty birds I thought I'd get me some anyway, but how? The answer, as so often, is: Yarn!
You need red, black and grey yarn (possibly 2 nuances of grey), I'm using Drops LIMA which is a wool alpaca blend suitable for 4mm needles). The birds I made are about 6cm high, a thinner yarn will make a smaller bird. (The yarn btw is lovely, nice and cosy, I must use it for some clothing later on.) You also need a piece of sturdy cardboard 15 cm wide and a pair of scissors.
Make a sheaf of each yarn by wrapping it around the cardboard. I made 15 wraps each of the red and grey, and 12 of the black. Cut at both turns to make 30 (24) identical threads. You also need two strands of (grey) yarn to truss the little birdie up.
Place the black yarn at the bottom, the grey as a bar slightly above (or below for a more satanic twist to your decorations) the middle and the red on top of the black. Gather each sheaf so they wont spread and mess up the tying. Each should be about as high as it's wide. Make sure the longer leg of the cross is long enough to wrap around to the other side.
Use one of the grey strands to tie the bird head: middle part of strand under the black, cross it over the red in the front, and tie it behind the black again. You need to tie hard, but take the time to regather the sheafs while tying, especially the red will need it to look nice later.
Gather each colour by itself, if using two shades of grey gather them separately as well. Two things does not show properly in the picture; the black is almost as long as the red (otherwise it will be hard to make little birdie neat) and a little of the grey is showing between the black and the red, forming a little beak. I have seen birds with leather beaks, and read about them being made from the fastening metal wire, but haven't figured that part out. I think a grey beak is just enough anyway. :-)
Next is the bird forming part: Gather the black and the red with the grey at the sides. Then use the grey to wrap over the black, securing it. If using two greys, plait each separately.
Tie around the bird tail, while holding little birdie in place. It might be helpful to have someone else tie the first birds until you get the hang of it. Remember, the greys should overlap, not just meet at the back, this is important to keep the black head in place!
If you want a hanging bird, thread a needle inside the black and behind the thread forming the head. A sitting bird need a piece of wire up it's derriere, unless held in place by pure fuzziness as below.
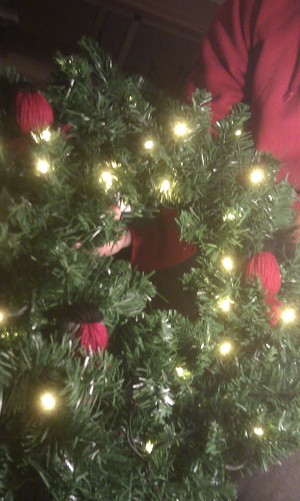
Birdies nesting it their new home.


Inga kommentarer:
Skicka en kommentar